
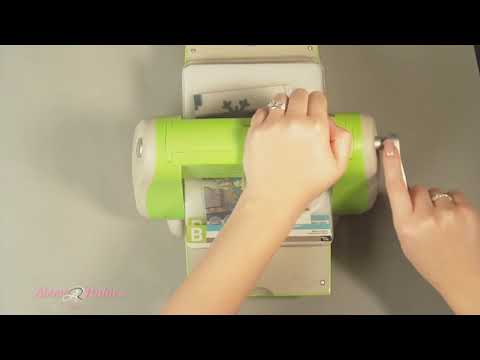
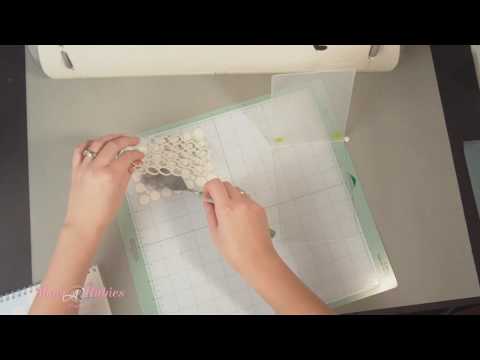
Here is something that you will see in the Cricut A to Z DVD – but I wanted to give a different version of it on my website as a helpful resource! I love making my own Cuttlebug Embossing folders. They are so fun and overall easy. You can re-use the A-2 folder kits from Provo Craft for the Cricut as many times as you would like by following this fun 2 part instructional video 🙂
Enjoy!
Thanks, Megan for showing us your embossing technique. I always learn something new when I visit your site. Great news!!! My DVD arrived in the mail today. I can’t wait to view it. You are such an inspiration!
That was awesome! I can’t wait to watch the DVD. Keep it up girl. Oh & I love the cutting guide.
Wow that is so cool. I wish I had the cuttlebug. Your kids are so cute. You can hear Ben saying bye after you do. Too cute.
GREAT tutorial! I’m getting these items for Christmas and it’s nice to know how easy they are to do! Thanks!!
Oh wow I love that, so the ideas for embossing folders are endless.
Thank you so much!
I have this on my Christmas list, Now I REALLLLLY want it! Thanks for the tips and ideas!!
wow! sky is the limit. I will need to start making own folders.
Can you reuse folder?
Thank you
Great Episode!!! Been missing you!!
I saw this on the DVD. I can’t wait to try it!
WOW is that going to save a lot of $$$ on Cuttlebug
folders!
Wow Megan, this is awesome. Again your many talents. Thank you…………..
Very cool. I’m hoping my DVD is here today – I didn’t get to the mailbox yesterday.
very cool! I can’t wait to try it!
Thank you, thank you! I love the process .. you are the greatest.
You have just gave me so many options to emboss that I am just giddy with excitement! Keep up the great work. I can’t wait to get my DVD, thank you for all the cool things you teach us.
Cute but tedious. Probably would only do this for extra special projects. The folders they have now are cute enough.
great video!
Great and thank you! I have been waiting to learn how to do this properly.
I just got a cuddleBug and will definitely try this!! Thanks!!
COOL!! Great idea. TFS
love the folders.Great idea on the chipboard. Recycle, reduce, reuse. Awesome!!
Just got my video and have not had a chance to sit to view it.. this just makes me want to hurry and finish my work so I can…..
I love this video Thanks Meg for sharing now i want the Cuttle more then ever
Thanks for sharing. I’ve heard of this before, but havent tried it because it seemed very timing consuming. But, I had a thought while watching you. If you used transfer tape or contact paper to separate your images, it might be a little easier. I will have to try that. Thanks again. i love your videos!
That is so cool. Thanks for sharing that technique. I always learn something new when I visit your site.
I learn so much from you every time I visit your site. I have been telling all my scrapbooking friends about it too. Thanks so much!
Oh I love this, great way to make more embossing folders of patterns you want that you can’t get otherwise. Thanks for showing us how to do this. I don’t have a cuddlebug either but I do have the sizzix which works the same for doing this.
Angel hugs
Debby
very cool!!!!! you made it look so easy….thanks
Thanks Meg, after seeing you do it I can tell it takes a lot of time, but I’m willing to try. Casey, one of your commentators, suggested contact paper to transfer the negative, I’ll have to give that a try and also look for it in the video to find out how you can use the folder again.
Great video!
Carmen
What great ideas thanks.
Thanks for the video on making your own cuttlebug embossing folders
This is great, I had tried using the material that you buy for this and had no luck with it, will give this a try tonight. Thanks for all the great tips.
Megan, I love your ideas! One question…When moving the inner circles could you have glued a thin piece of paper to the inner circles (while they were still on the mat), let them dry and then move them in their entirety? Just wondering!